Are You a Lip Balm Lover…??
If you’re anything like me, lip balms are an ‘essential’. If I’m out and realise I don’t have one with me, I get kind of nervous and agitated and sub consciously start licking my lips – which of course leads to even drier lips….!!
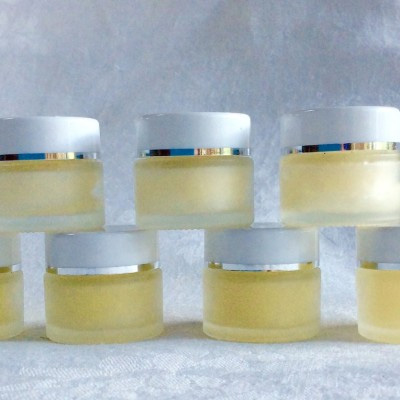
So, to avoid this problem I have many lip balms. I have one in each bag that I use regularly, one in the car, one at my desk and one by my bed. And my ‘back up’ stash is quite impressive too!! I like the tubes for convenience and portability so these are normally my balms of choice for carrying around. But small tins or jars work well too and I have these stationed around the house.
Why use Lip Balm?
The purpose of lip balm is to help your lips retain their natural moisture. The skin on the lips is particularly thin and so is very susceptible to dryness. Occlusives like beeswax are common in lip balms because they provide a protective and pleasant coating which prevents moisture loss from the layers below.

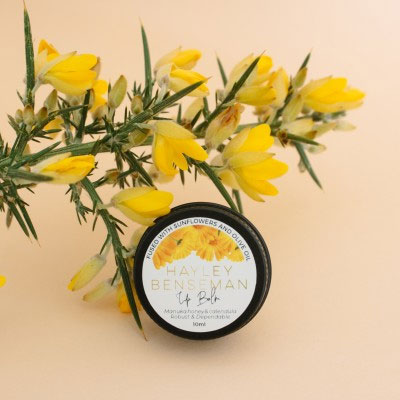
Whatever flavour you’re into, whether you like a tint or not, if you’re a push up or a pot person…there is a lip balm out there for you, and there are LOTS to choose from on the marketplace!! Our Vendors have blended the finest essential oils, butters and waxes to get the perfect texture and balms that deliver soft lips. And of course, it should go without saying that the all natural lip balms on Green Elephant are free of nasties.
But, hey we like to give you options, and if you’re the DIY type who is keen to experiment then carry on reading to find out how to make lip balm at home. You might be surprised to discover it’s actually very easy to make your own lip balm. And following on the theme of sustainable gift giving (it’s that time of year!!), a DIY lip balm could make a pretty cool gift….??!!
So, Here’s How to Make Lip Balm
A good lip balm only needs a few basic ingredients. As a bare minimum, a wax and an oil would work, but for richness many recipes recommend using a butter too like shea, cocoa or mango. Your favourite essential oil can be added for fragrance and if you’re that way inclined, you can add a tint. One page I came across suggested melting in a wax colouring crayon to add colour to your DIY lip balm, but I DO NOT recommend this….
I suggest choosing the highest quality ingredients that you can. You’ll be surprised to see (like I was) that only small quantities of ingredients are needed to make up a lip balm, so if you can source organic, then please do. I would also suggest using recycled or upcycled pots or tubes if you can. If you don’t have any, then purchasing glass pots or tins would be good as they can be recycled. No tins were available when I was sourcing my kit so I opted for a few tubes and a few pots for my experiment which I can reuse.
After reading about one million DIY lip balm recipes on the internet I put together this very simple one, which is great if it’s your first time making ‘skincare’. After sourcing my ingredients (which was the hard part) making this up literally took minutes…it was that quick and easy….
Ingredients for DIY Lip Balm
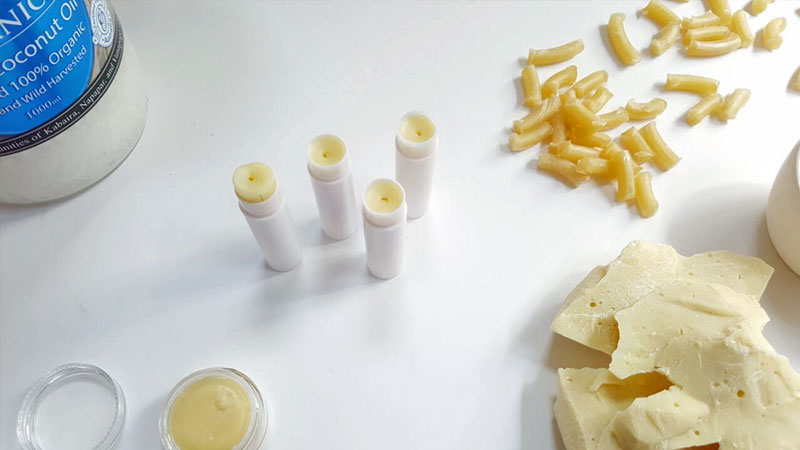
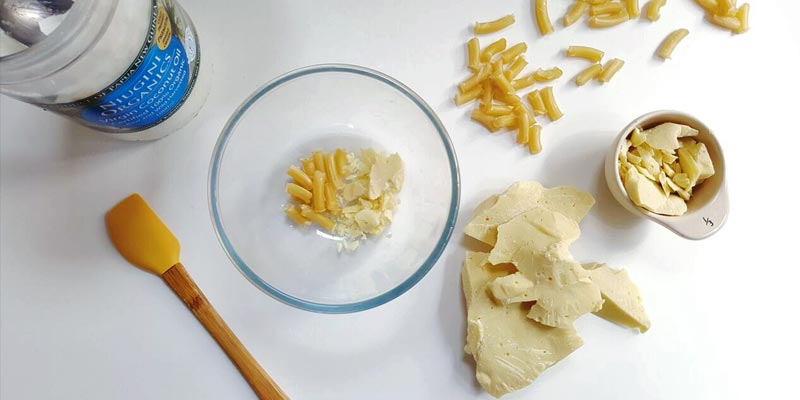
10g Beeswax (my wax came in little curls that looked like macaroni…)
10g Cocoa Butter (shea or mango butter would also work well)
10g Coconut Oil
Clean tubes or pots
How to Make Lip Balm
- Assemble your lip balm pots or tubes so they are ready to be filled.
- Put all the lip balm ingredients in a small bowl and microwave in 30 second bursts until everything has melted together. Stir in between. This took about 2 minutes in total in my low powered microwave. If you don’t have one or would prefer not to use a microwave, sit the bowl over a pot of simmering water (just as you do if you’re melting chocolate) and melt the ingredients together this way.
- Stir the contents of the bowl to make sure there are no lumps. The mixture should be clear and smooth.
- Decant into your pots or tubes using a syringe or dropper. If you are using tubes, fill them as high as you can because the mixture shrinks as it cools.
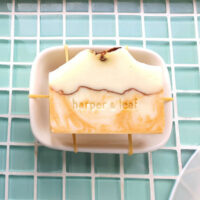
And that is it – how to make lip balm at home in your kitchen! This quantity made enough to fill four lip balm tubes and one 10g pot which I had for ‘back up’, and the whole process took me about 5 minutes from start to finish.
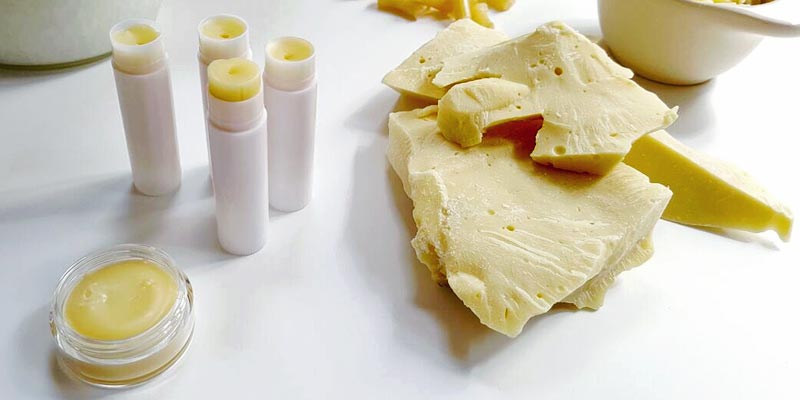
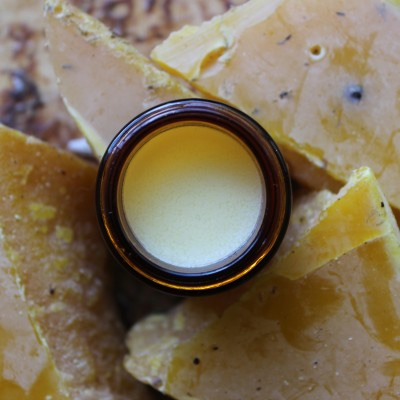
I opted not to add essential oils this time because I wanted to keep the ingredients to a minimum and see how a basic DIY lip balm recipe would turn out. The balms were solid within 10 minutes and I am pretty impressed with the results. The finished lip balm carries a slight smell of coconut, probably from the high quality organic coconut oil that I used. It’s smooth, pale in colour and the texture is good, firm and non-greasy on my lips.
So, all in all, my first foray into making lip balm was a successful one. My efforts didn’t result in the luxury that you get when you purchase lip balms from a professional but I was really happy to have tried this out. If you’re a DIY enthusiast rather than a buyer, experimentation and practice could give you excellent results most definitely worthy of being given as a great sustainable gift!!